When you are collaborating on a Powerpoint presentation with someone, a common way to divide the work is for different individuals to work on different slides.
Periodically throughout the course of the project, however, you will need to share progress on individual slides. Rather than send the complete presentation, you might be looking for a way to simply send one slide.
An easy way to accomplish this is to save that slide as a picture so that you can attach it to an email, much as you would with a regular picture or document file.
So continue reading below to find out how to save a single Powerpoint slide as an image, which you can then include as an attachment in your email program.
Save a Slide as an Image in Powerpoint 2013
This tutorial will show you how to save a single slide from your Powerpoint presentation as a JPEG image.
This is a fast and simple way to share a Powerpoint slide with someone through email, as it does not even require them to have Powerpoint on their computer to view it.
The end result will be a JPEG image, which you will need to include as an attachment to an email that you send from your email program.
If you need to keep the Powerpoint formatting so that the slide can be edited by the email recipient, then you will need to create a new Powerpoint presentation and take advantage of the Reuse Slide option.
The new presentation, consisting of only the single slide that you want to share, can then be sent to your recipient. You can read more about that here on Microsoft’s support site.
Step 1: Open the Powerpoint presentation containing the slide that you want to email.
Step 2: Select the slide that you want to email from the column at the left side of the window.
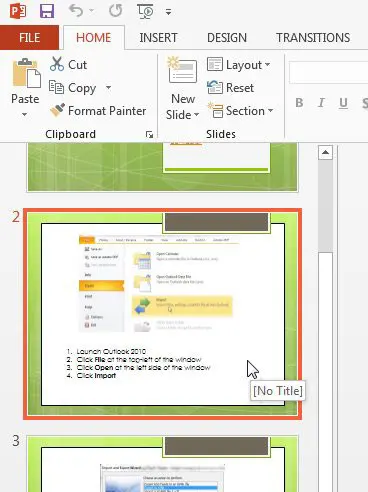
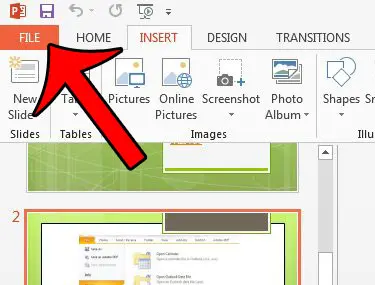
Step 3: Click the File tab at the top-left corner of the window.
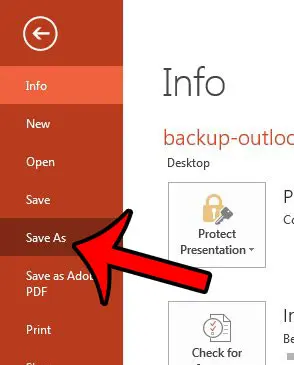
Step 4: Click Save As from the column at the left side of the window.
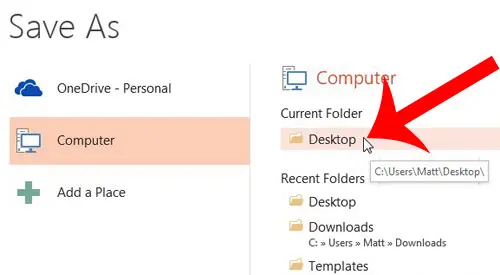
Step 5: Select the location where you want to save the slide.
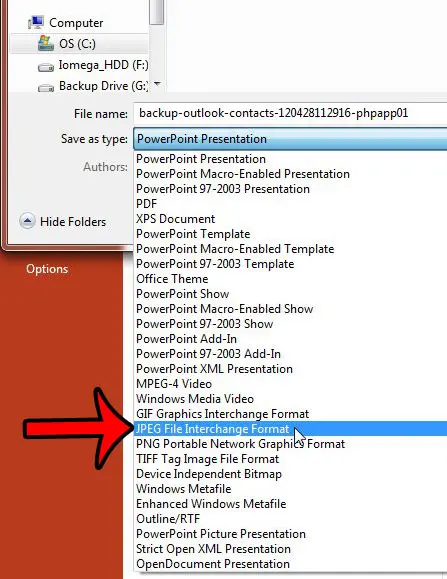
Step 6: Click the drop-down menu to the right of Save as type, then select the JPEG File Interchange Format option. You can also change the name of the slide at this point. Click the Save button when you are done.
Step 7: Click the Just This One button at the center of the pop-up window.

You can then navigate to the location where you saved the image to view it. Then simply open your email program, create a new message, and attach that image to the email.
Now that you know how to email one slide from Powerpoint 2013, you can easily share just part of your presentation instead of the entire thing.
Would a video add a lot to your presentation? Learn how to embed YouTube videos into Powerpoint 2013 files.

Matthew Burleigh has been writing tech tutorials since 2008. His writing has appeared on dozens of different websites and been read over 50 million times.
After receiving his Bachelor’s and Master’s degrees in Computer Science he spent several years working in IT management for small businesses. However, he now works full time writing content online and creating websites.
His main writing topics include iPhones, Microsoft Office, Google Apps, Android, and Photoshop, but he has also written about many other tech topics as well.