The iPhone camera has been one of the most widely used camera in existence for several years, due largely to the fact that it was a feature on a very popular device. But as new versions of iOS have been released, additional features have been added to the camera to give you more options when you are taking pictures.
iOS introduced several new features, such as the ability to use a timer when taking pictures, but it also added a function that lets you adjust the exposure on pictures that you are taking. This means that you can manually adjust the exposure level of your images, allowing you to make them darker or lighter as needed. So continue reading below to find out how to do this.
You can read our how to scan on iPhone guide if you wanted to be able to scan documents but didn’t want to have to buy a scanner or an expensive all-in-one printer.
Change iPhone 5 Camera Exposure
This article was written using an iPhone 5 in iOS 8. This feature is not available in earlier versions of iOS.
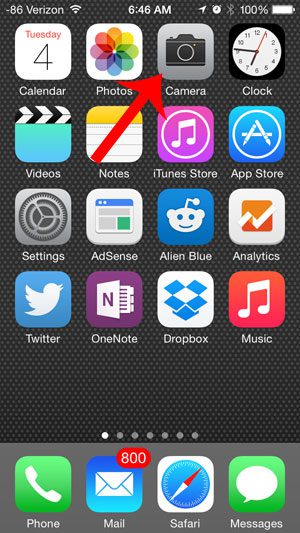
Step 1: Open the Camera app.

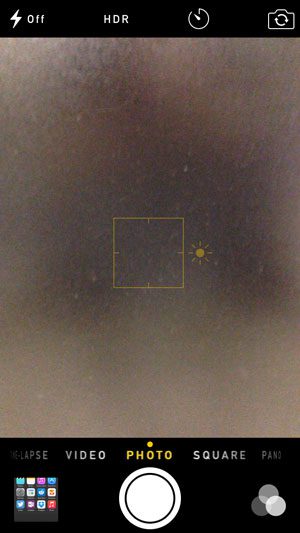
Step 2: Tap the screen to display a square with a sun icon to the right of it.

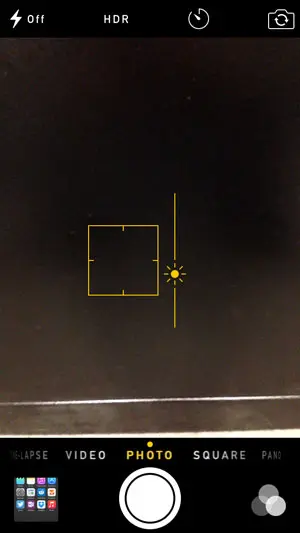
Step 3: Drag your finger up or down on the screen to adjust the exposure. You will notice that the image becomes brighter if you drag your finger up, and darker if you drag your finger down.

Now that you know how to adjust the exposure on the iPhone 5 camera, you will be able to use this setting to create all kinds of different styles of images on the smartphone.
Did you know that you can zoom on your iPhone camera as well? Read here to learn how.
Additional Sources

Matthew Burleigh has been writing tech tutorials since 2008. His writing has appeared on dozens of different websites and been read over 50 million times.
After receiving his Bachelor’s and Master’s degrees in Computer Science he spent several years working in IT management for small businesses. However, he now works full time writing content online and creating websites.
His main writing topics include iPhones, Microsoft Office, Google Apps, Android, and Photoshop, but he has also written about many other tech topics as well.